Getting Started
If this is your first time working with PROS, you’ve come to the right place. This guide is designed to walk you through the PROS installation process and starting your first PROS project.
Installing PROS
The best way to install PROS is by first installing VS Code.
Note
For other, platform-specific methods of installing PROS that don’t rely on VS Code or for installing the old PROS Editor, see the installation guides section below.
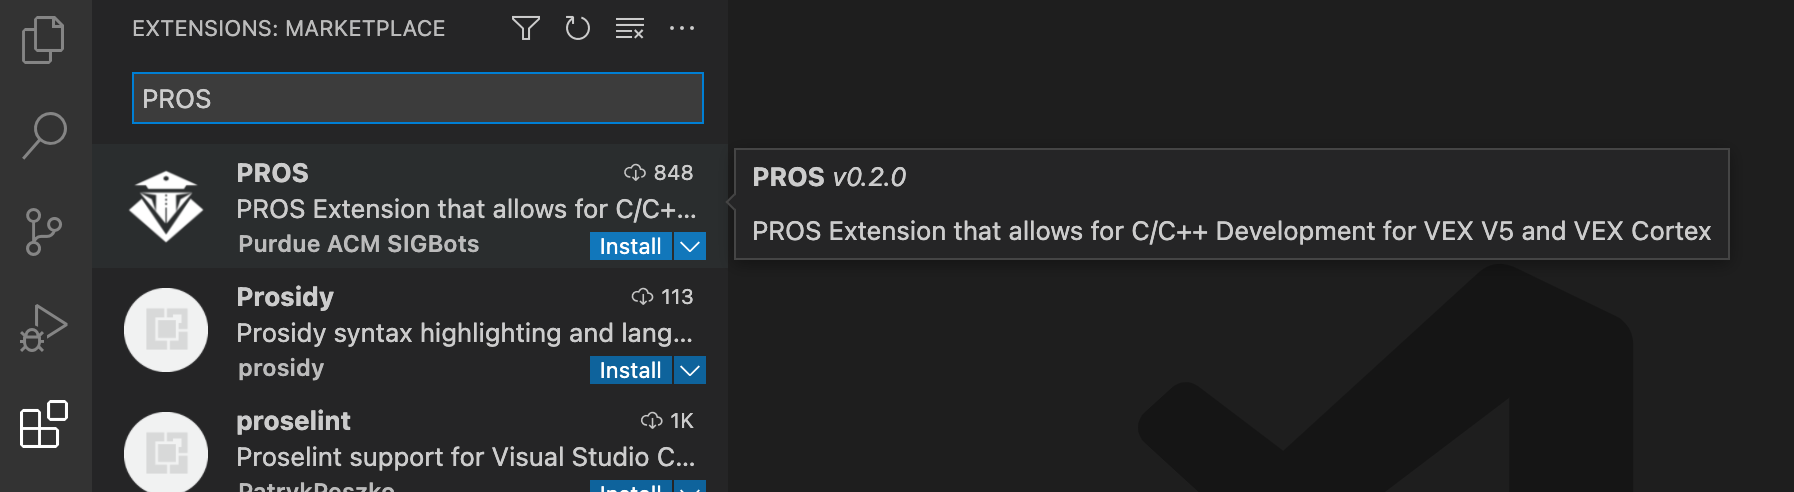
Once this is installed, open the extension menu from the sidebar, search for “PROS” and click “install”.
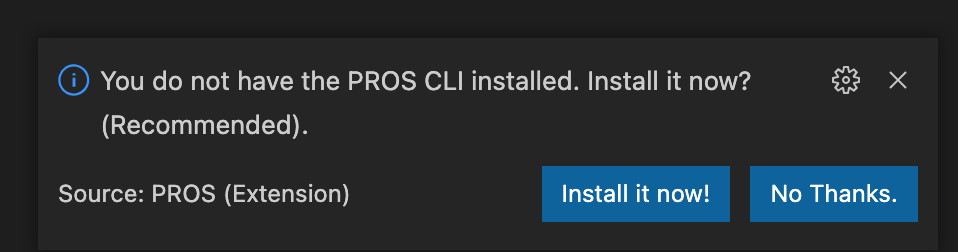
After the extension is installed, you should see a new icon at the bottom of the sidebar menu. This is the PROS extension menu, and is where you can access most of PROS’s functionality. Open this menu, and you will see a notification appear prompting you to install the PROS CLI if you do not already have it installed.
Note
If you do have a version of PROS installed, you can still install the sandboxed version within VS Code, if you wish. If you choose not to, the PROS extension will use the version you previously had installed.
Click the “Install it now” button to install PROS, and wait for this operation to complete (this may take a while). When the installation is complete, you’re ready to start using PROS! If you’re a first time user, check out our guide for new users (see below). If you already have a good idea of what you’re doing, check out the advanced topical tutorials in the Tutorials section.
First Time PROS User?
Platform-Specific Installation Guides